The home I live in needs to change: warmer, less damp, increase comfort, create an open plan room for more family-focused lives, improve aesthetic quality to the rooms and spaces, and a short term solution to create separate bedrooms for the kids.
Following the first home tutorial and brief formulation (story here), the first stage of change occurred. I had a follow-up appointment to begin building a plan. Neighbourhood Construction shared templates for the most common interventions with a detailed design and scope for simple low-cost projects.

A list was made via Trello; collating all the things that needed doing meant that the tasks could be grouped into properly costed and programmed in a step by step process, logically.
Small changes add up to making a big difference.

The doors can now function with new latches knobs and draught excluders.

The draughty loft hatch, that we temporarily sealed with expanding foam, has been replaced with an insulated one with an integral ladder.

Thermostatic Radiator Valves (TRV’s) installed on all radiators.
This all resulted in the ability to shut off the cold hallway from the bedrooms, bathroom and living spaces, whilst each room’s temperature and comfort can be controlled without impacting on other spaces and rooms.

Motivated and empowered by learning how to make the smaller things happen I was ready to take on a bigger project. We had also established good working relationships via the smaller pre-costed projects so I was ready to purchase a detailed programme of works for the bigger job that fitted my limited budget.

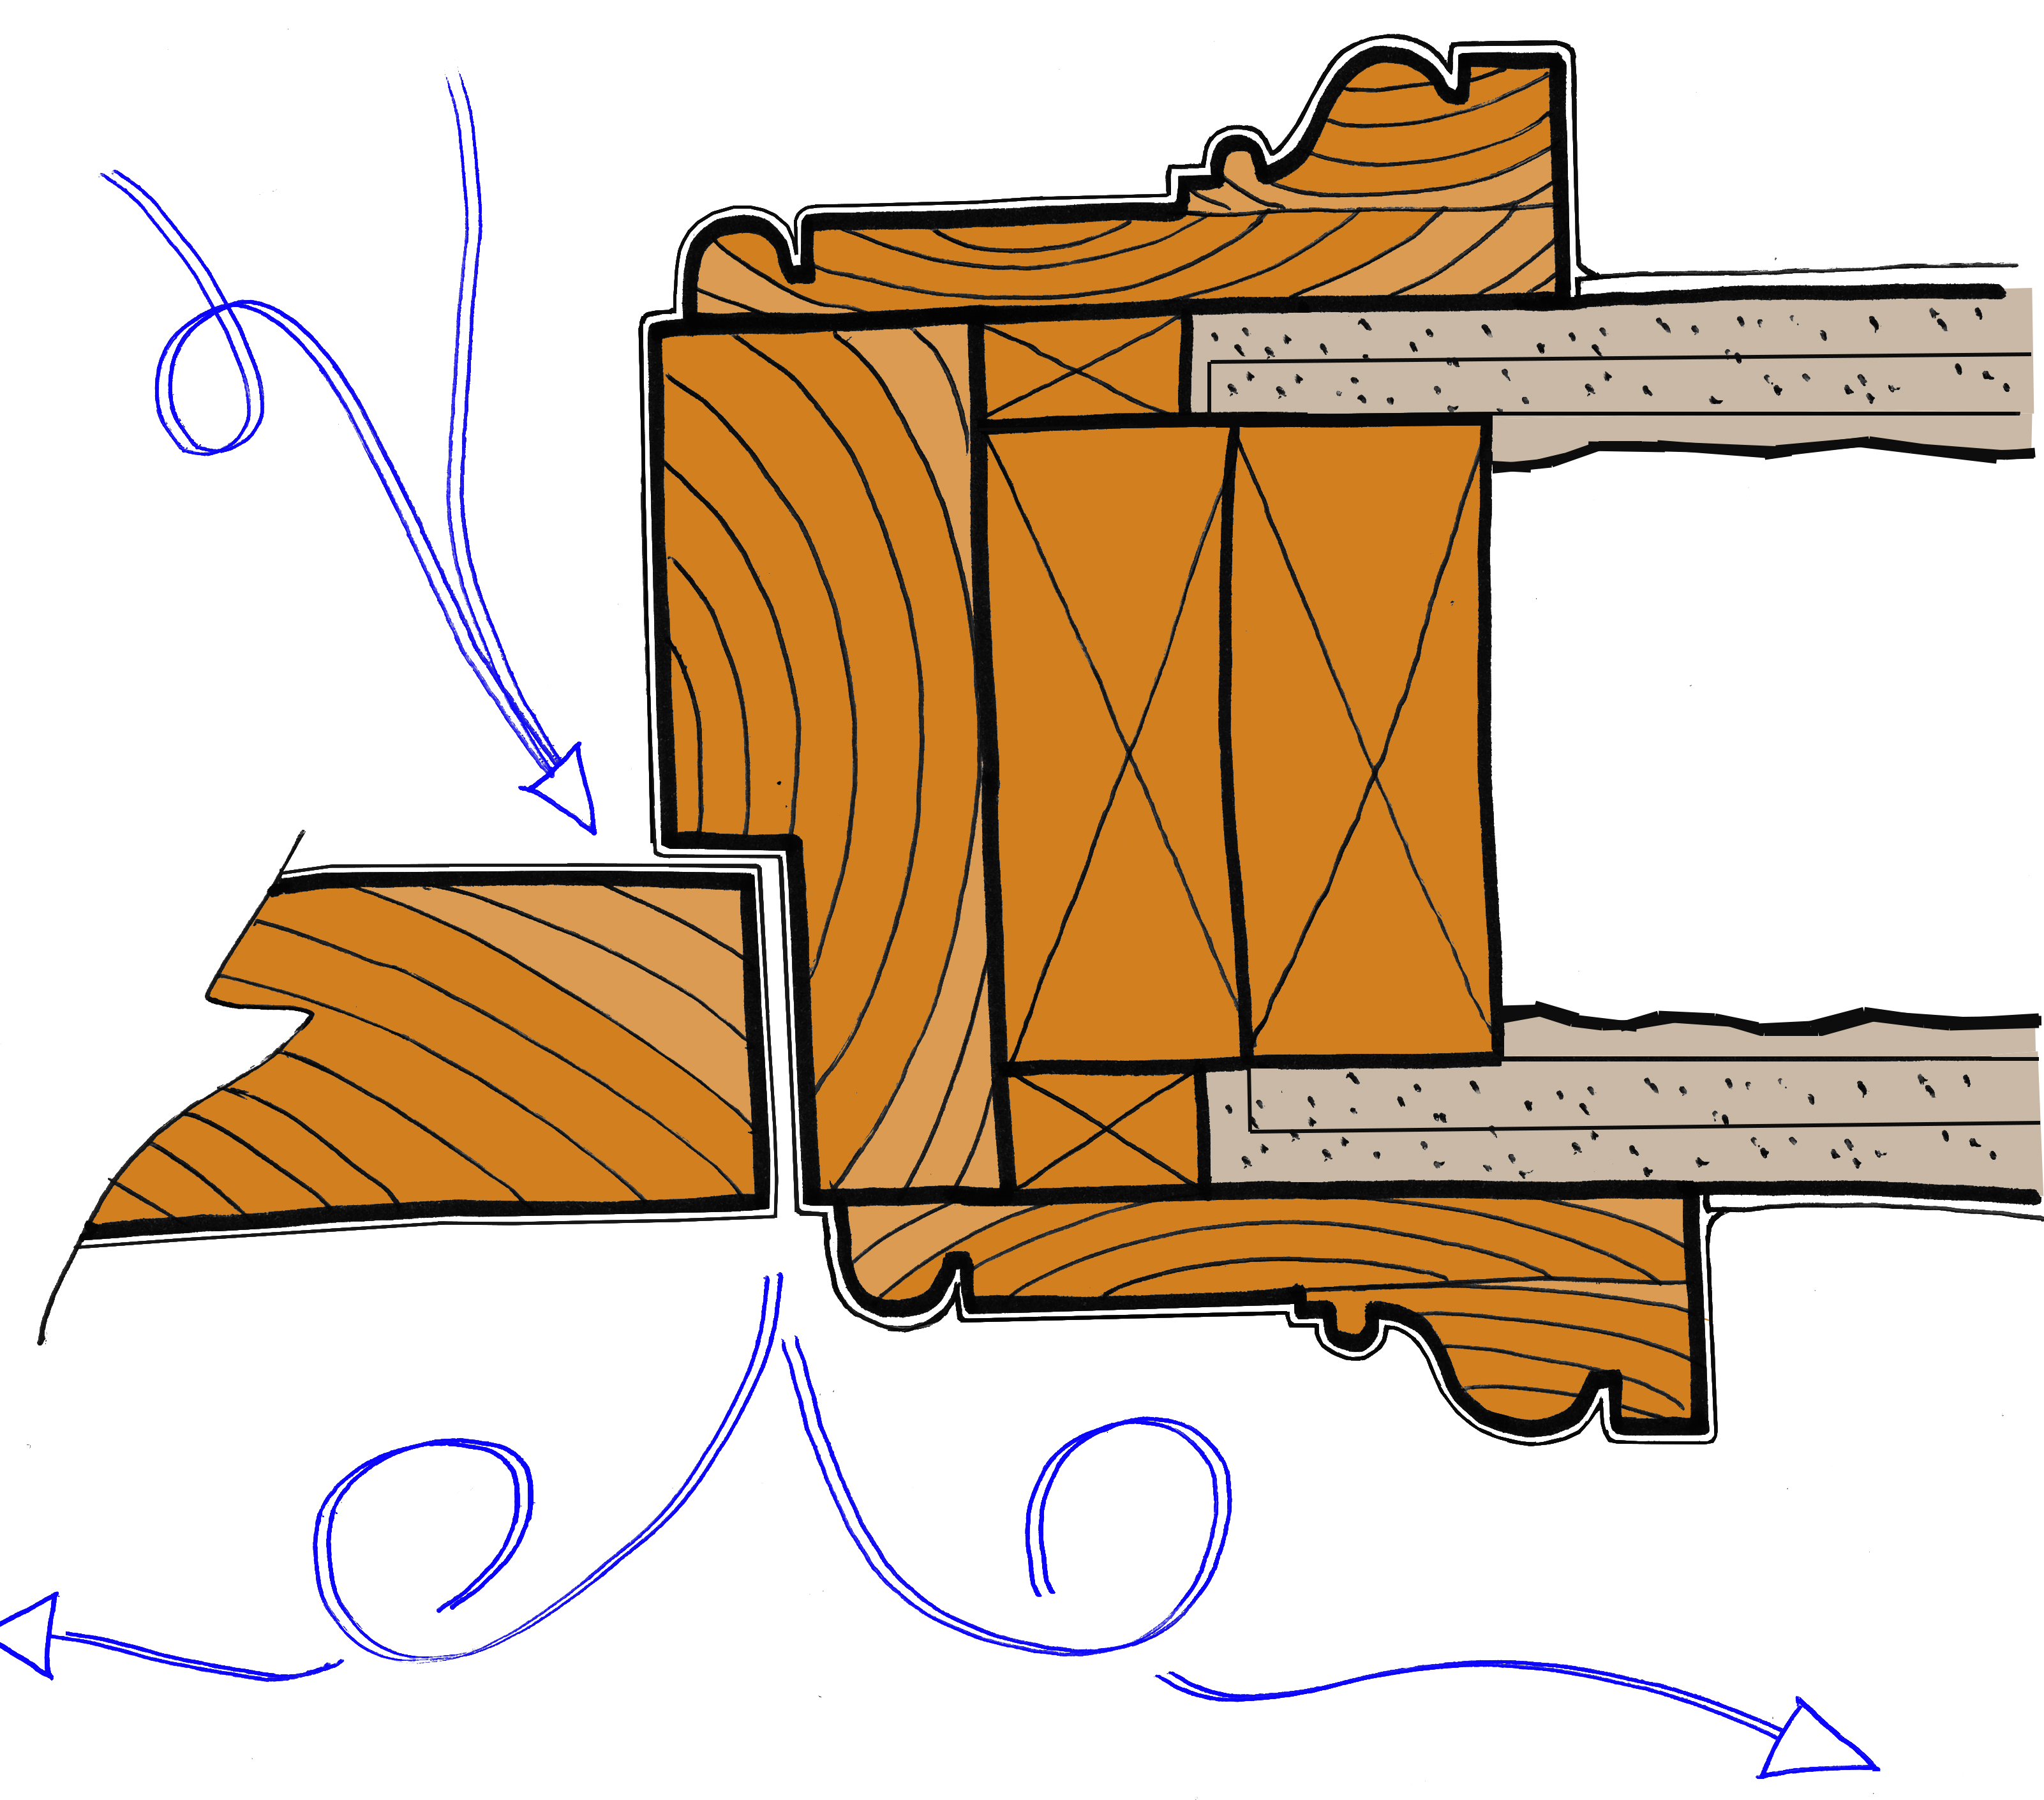
The next stage was to remove all the cement render, in the back room to expose the brickwork and reveal ‘what lies beneath’.

Exposing the rotting brick made me realise what a state the house was in and also some bigger structure issues. For example, the bricks in one area had rotted away to leave only one skin of the external wall. To see the extent of decay made the whole issue come home. All this damage caused by cement ‘damp proofing’ done to the property many years before I had arrived.

Also, seeing the change occur created the momentum to remove the wall that divided the kitchen and living room, creating an open plan space that still had a door to the hall and stairs. This would allow better ventilation for the back room, better socialising space particularly when the kids do homework, play and friends are around and I prepare dinner.

Also, the front room will be separated by doors allowing it to be used as a third bedroom so that the children can have a room each up-stairs. Much better use of space than a living room twice the size we need.

The final finish of the round corners, warm tones and feeling of the room was fantastic, a massive change to our family life and renewed interest in the house (which also included buying a lot of plants!).
After we’ve tackled of a few other smaller project we can complete the paper and paint in one go, this year.
– Sarah
Update

The delivery team had all previously completed the Neighbourhood Construction training workshops, they also took time out from the delivery of this project to host training opportunities for others.
Hawkland Ecological Construction
www.hawkland.co.uk
David and Chris
Jay Carpentry
www.jctraditionalcarpentry.wordpress.com
Ian


One thought on “Insulating my cold damp house”