Our retrofit journey started in the spring of 2021, 6 months after moving to our new home. Our main reasons were to make the property more comfortable and reduce running costs. The initial priority was to add external insulation to the rear and side of the property (£17k), replace single-glazed windows with double-glazed (£35k) and add solar PV panels to the roof (£5.5k). These works were completed in February 2022 and were all large-cost items. The problem was that they seemed to have very little effect on the cost of heating and comfort level within the house. Although the windows were made with kryptonite-filled glass with a U value of 1.2U, they were very draughty. The PV was installed but was making little difference to our bills as our main electric use wasn’t during the day.
Keen to learn more, I attended a “Real life retrofit” event hosted by “The Green Register” to learn and find like-minded people to work with. Hawkland construction was sharing case studies of their work which looked very interesting.
I was then introduced to Simon James-Lewis from Neighbourhood Construction. Simon helped me to create a retrofit plan. What I learnt was a better understanding of the internal climate of our house was essential to finding a cost-effective and sustainable solution.
The first stage was a half-day session with Simon to understand the required approach needed for a successful retrofit. What I learnt here was that every intervention has a payback time and some of the lowest-cost interventions can provide the biggest wins. Managing draughts became the new focus, for example, the ½ inch gap under the front door became a top priority to fix. We discussed the draughty windows. However, Simon explained that the loft space and open chimneys were sucking the cold air in through the windows increasing the heat loss. Therefore the advice was to take control of the larger imperceptible draughts and then reassess the windows.
Introduction to the Neighborhood Construction website provides a guide for the key processes and skills involved https://www.neighbourhoodconstruction.org/about/#home-tutorial
Draught-proofing
The threshold was already installed but fitted very badly causing a gale to blow under the South West facing front door. The difference was instant making the hallway immediately warmer and allowing us to turn off the hallway radiator. The material used 1 tube sealant. Cost £10.
Airtight doors
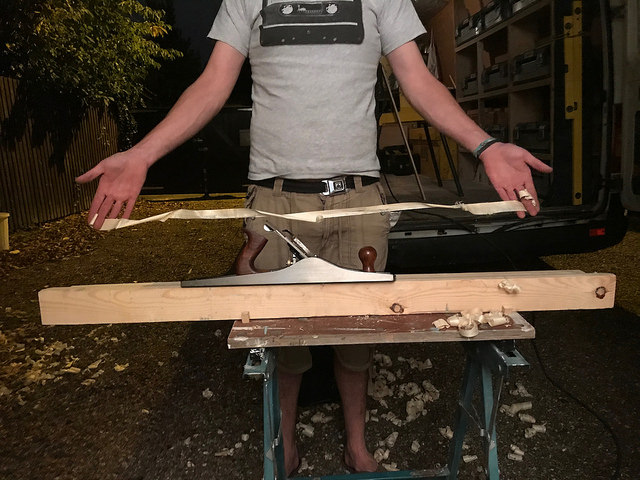
The next step was to learn how to convert a door frame to an airtight door frame. The door into the loft space had ½ inch gaps all around and so this was the top priority. Creating an airtight door to the loft reduced heat loss into the loft space instantly. Basic carpentry skills were required as an amount of patience as I learnt the pitfalls very quickly to achieve a well-fitting door with good air-tightness. Materials – new door stop, threshold and Schlegel Aquamac-21 seal £50.
Air-tight flooring in the study
We decided to put a new carpet in place in our study to make it warmer and create better acoustics. It was recommended by Simon to ensure that the floor was air-tight and flat before laying the carpet. I used a RAM board, a thick card material with gaffa tape to seal it into place. Simple and cost-effective solution to reduce air movement from the cellar space below. Materials- Ram board 15 sqm and gaffa tape £45.
Energy bills !!!
The total cost for our first full year in the property was a shocking £4258, split between Electricity £1641 and Gas £2617. With the war in Ukraine just announced it was clear that these costs were going one way unless we took urgent action.
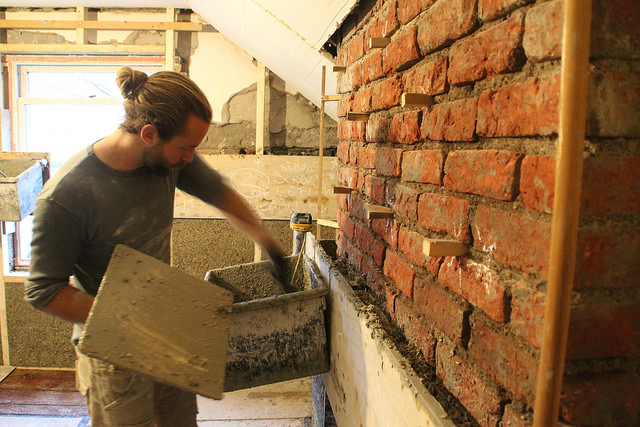
Insulation
The next step was to focus on our loft space, where most of the heat was lost. Currently, this was a boarded-out loft space suitable for storage only. There was an opportunity to convert this into a living space and at the same time fit as much wood fibre (natural) insulation as possible within an airtight membrane to eliminate any drafts. We also planned to insulate the floor and the walls of the stairs to add additional insulation.
The front of the house is the other area that could be fitted with internal insulation but which is a lower priority than the roof. It would also be much more disruptive and maybe something that can be done later, on a room-by-room basis.
Heating system
Work in progress – currently assessing options. The starting point is a heat loss report to be done once the extent of insulation and draught improvements have been completed.
Ventilation and airtightness
Creating an airtight house will require mechanical ventilation to manage the air quality. De-centralised ventilation is a cost-effective way to manage rooms which create moisture such as the kitchen and bathrooms. We investigated solutions on the market which would manage air quality in these key areas. Shortly to be fitted are x2 units in 1st-floor bathrooms.
Conclusions
- Installing large ticket items alone, will not guarantee an efficient house and often take the longest time to recover the initial outlay.
- Having a clear understanding of the internal climate of a house is key to energy efficiency
- Low-cost retrofit items like draught-proofing are key to an efficient house, however, most contractors are not interested in this work as it isn’t seen as profitable.
- Understanding the house’s heat loss is key to specifying an effective heating solution.
Dan
WordPress author pending


